Joomla 3 installation
In this article
Upload Package File
Step 1
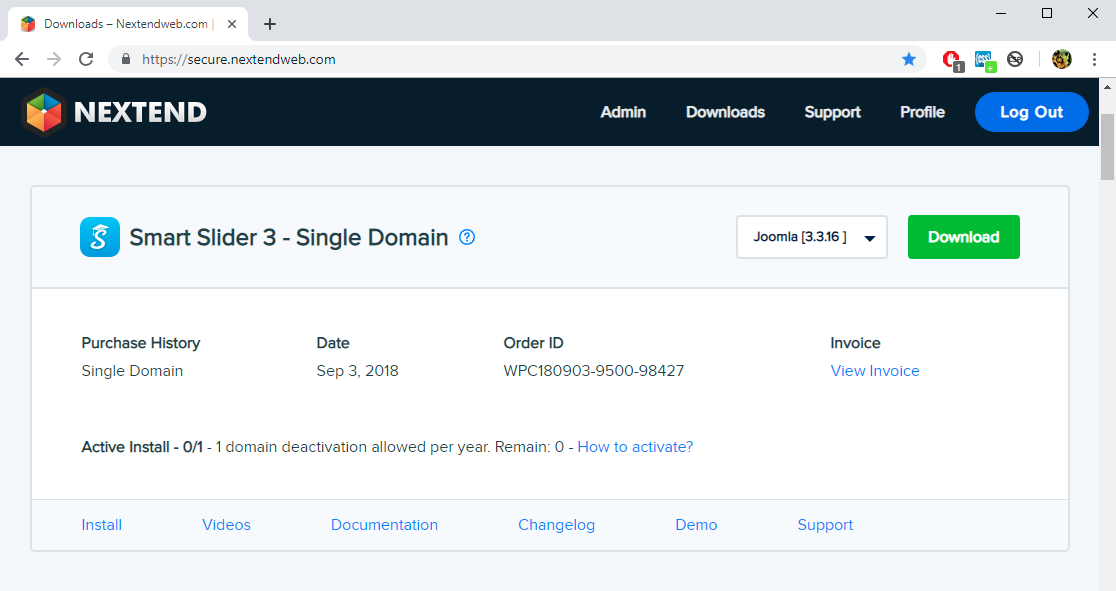
Download the latest Pro installer from our website or the free version from here.
Step 2
Go to your admin site Extensions → Manage → Install Upload Package File tab, and browse the smartslider3-joomla-3.x.x-pro.zip (free version: smartslider3.zip) file.
☝️ Note: If the installer starts with UNZIP_FIRST, make sure you unzip it before browsing.
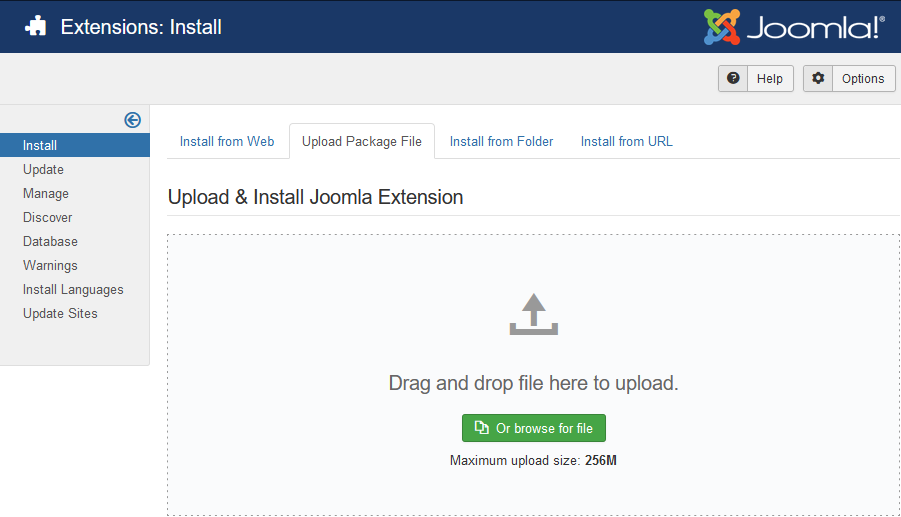
☝️ Note: Check the Maximum upload size your Joomla writes below the button. If it's lower than 4MB, you will need to use the Install from Directory method.
The installation will run automatically, and you'll be redirected to the a successful installation screen. 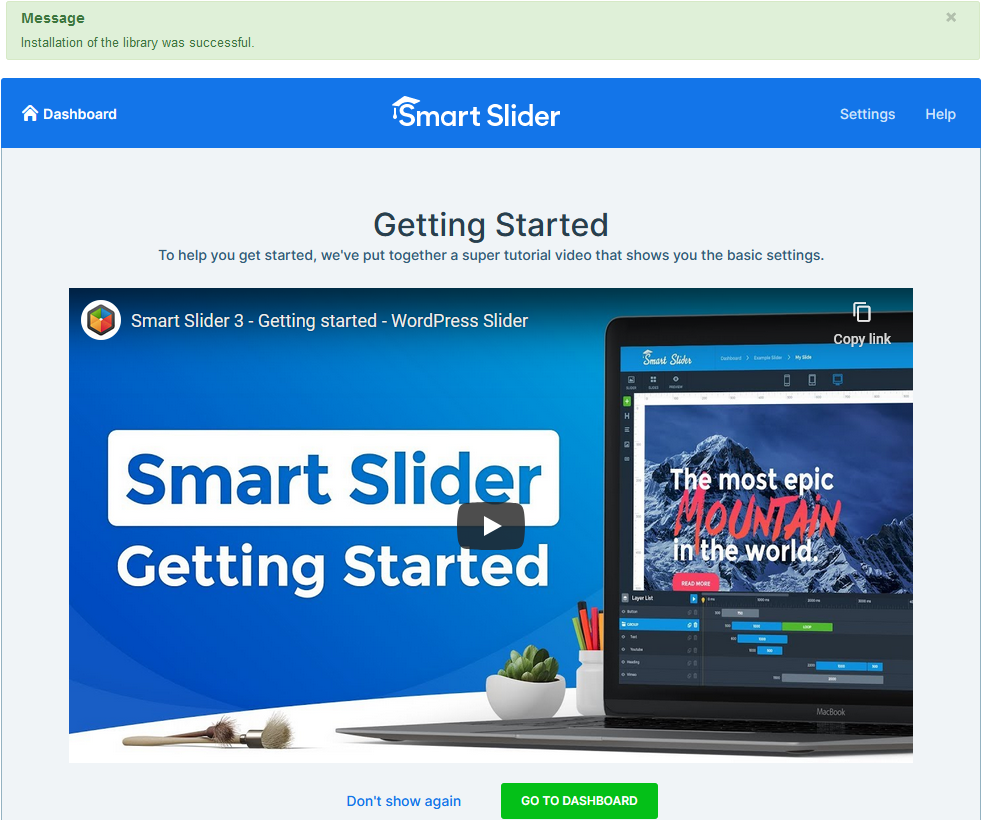
You can also reach Smart Slider 3 from Components → Smart Slider 3.
☝️ Note: If you didn't see the successful installation screen, try out the Install from Directory method.
Install from Directory
Step 1
Download the latest installer from our website.
Step 2
Unzip the smartslider3-joomla-3.x.x-pro.zip into your computer.
Step 3
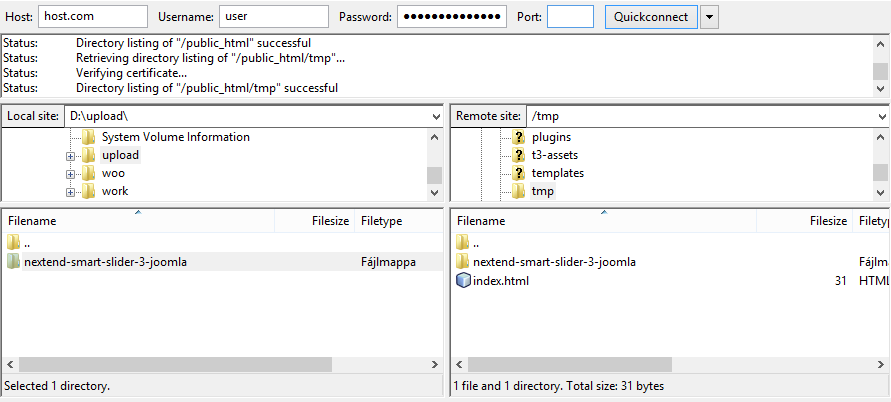
Upload the unzipped nextend-smart-slider3-pro-joomla-pro folder into your website's tmp/ folder. (If you are not sure, what the FTP of your website is, contact your host.)
Step 4
Go to your admin site Extensions → Manage → Install Install from Directory tab, and write /nextend-smart-slider3-pro-joomla-pro after the Install Directory path, that is already written there, so it will point to our folder.
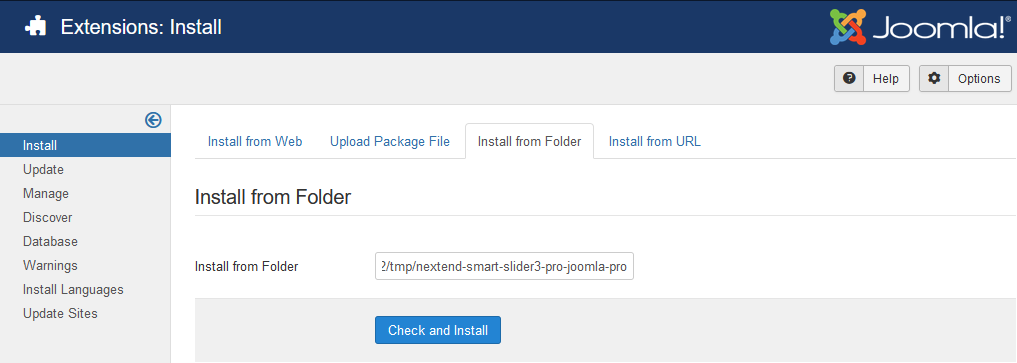
Step 5
Press Check and Install, and you'll be redirected to the a successful installation screen.
You can also reach Smart Slider 3 from Components → Smart Slider 3.
☝️ Note: If you didn't see the successful installation screen, try out the Install from URL method or check out read this.
Install from URL
Step 1
Download the latest installer from our website.
Step 2
Upload the smartslider3-joomla-3.x.x-pro.zip into your ftp. (If you are not sure, what the ftp of your website is, then check out read this.)
Step 3
Go to your admin site Extensions → Manage → Install → Install from URL tab, and write the link pointing to the smartslider3-joomla-3.x.x-pro.zip into the Install URL

Step 4
Press Check and Install, and you'll be redirected to the a successful installation screen.
You can also reach Smart Slider 3 from Components → Smart Slider 3.
Reinstallation
If for some reason you need to reinstall the Smart Slider, you can do it by installing it just like a new extension, so with one of the previous methods. It will overwrite the existing files, and your sliders won't be deleted.
Common problems
Upload max file size
⚠️ Error
There was an error loading this file to the server. The uploaded file exceeds the upload_max_filesize directive in php.ini.
This error message means that your server has a limitation, that files that are larger than the value defined in the php.ini (or .htaccess file) is smaller than the Smart Slider's installation package. The limitation on most cases is below 2Mb.
If you would have access to your php.ini file, you could modify this value by searching for the upload_max_filesize or post_max_size words.
If you wouldn't have access to that file, you can still install the slider by connecting to your website via FTP. You can use the Install from Directory method.
Install from Directory method fails
When the Install from Directory method fails that means that the path you are using (at step 4) is incorrect. In this case you should open up a notepad, write this code in it:
<?php
$dir = dirname(__FILE__);
echo "<p>Full path to this dir: " . $dir . "</p>";
?>
Save it down, and rename it for example to path.php
Then upload this file into your website's tmp folder. After this check it in the browser, what does your file write out: http://example.com/tmp/path.php
It will write out the correct path, and that is what you should use (plus the name of our folder).
You should also check if your configuration.php file has this tmp path correctly.
Where is the ftp of my website?
When you purchased your website from the hosting company you have received an email with the ftp account to be able to access its folders and files. That is the account you need, and for example with Filezilla you can access your ftp.
If you are not sure what your ftp account is, contact your server host and ask them for it!